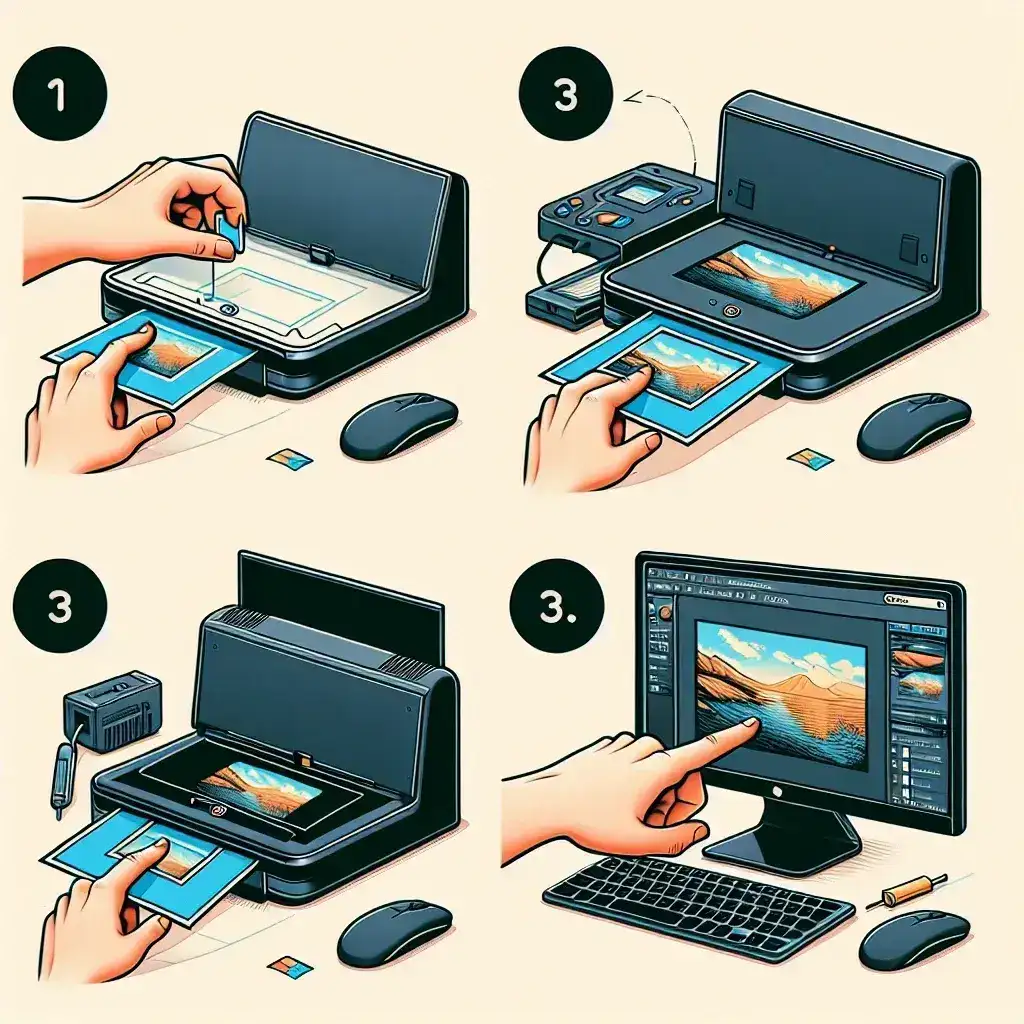
Digitally scanning 35mm slides is essential to preserve your precious memories in an easily accessible format. Whether you’re a photography enthusiast or someone looking to safeguard family photos, the following guide will walk you through the process. We’ll cover everything from required equipment to step-by-step instructions, ensuring you have all the information you need for a successful digitization project.
Equipment You’ll Need
Before diving into the how-to, let’s look at the equipment you’ll need to digitize your 35mm slides effectively:
- Slide Scanner
- Flatbed Scanner with a Transparency Adapter
- Digital Camera with a Macro Lens
- Lightbox or Slide Viewer
- Cleaning Supplies
- Software for Image Processing
Comparison of Equipment
Below is a comparison of the primary tools you can use to scan 35mm slides:
| Equipment | Cost | Quality | Pros | Cons |
|---|---|---|---|---|
| Slide Scanner | Medium to High | High | High-quality scans, Easy to use | Costly, Limited to slides |
| Flatbed Scanner with Transparency Adapter | Medium | Medium to High | Versatile, Scans various media | Slower, Requires careful setup |
| Digital Camera with Macro Lens | Medium to High | Variable | Multi-purpose equipment, Quick | Requires more skill, Varying quality |
Step-by-Step Guide to Scanning 35mm Slides
Step 1: Cleaning Your Slides
Dust and debris can significantly affect the quality of your scans. Use a soft brush or a can of compressed air to clean your slides thoroughly.
Step 2: Choosing the Right Scanner
Select a scanner that fits your needs and budget. For high-quality scans, dedicated slide scanners are the best option. If you’re looking for versatility, a flatbed scanner with a transparency adapter is a good choice.
Step 3: Setting Up Your Scanner
Install the necessary software and drivers for your scanner. Place your slides into the scanner’s film holder or tray, making sure they are aligned properly.
Step 4: Scanning Your Slides
Open the scanner software and select the appropriate settings. Choose a resolution of at least 2400 DPI for high-quality scans. Initiate the scan and save the images in a suitable format (JPEG, TIFF, PNG).
Step 5: Post-Processing Your Scans
Once your slides are scanned, use image editing software to enhance the quality. Adjust the brightness, contrast, and color balance as needed. Remove any remaining dust or scratches using software tools.
Best Practices
- Handle slides by the edges to avoid fingerprints.
- Store slides in a dust-free environment before and after scanning.
- Regularly clean your scanner and equipment for optimal performance.
Image Storage and Backup
After digitizing your slides, save the digital files in multiple locations. Consider using cloud storage, external hard drives, and DVDs for backups. Organize your files with clear naming conventions and folder structures to easily locate specific images in the future.
Conclusion
Digitizing 35mm slides might seem daunting initially, but with the right equipment and technique, it can be a rewarding project. Not only will you preserve your memories, but you’ll also have them easily accessible for sharing and printing. Follow this guide, and you’ll be well on your way to creating a digital archive of your cherished moments.

